Integrating ChatGPT into Your App

Hey builders 👋
If you want to power your app with AI, this guide will walk you through a few simple steps to integrate ChatGPT into your Nowa project and get your app talking in no time.
Why Add ChatGPT to Your App?
Imagine your app could chat with users, answer questions, or even write content — automatically. That’s exactly what ChatGPT makes possible.
By connecting OpenAI’s ChatGPT API to your Nowa project, you unlock powerful AI features without having to learn complex programming.
Nowa’s AI-assisted builder makes this even easier: you can just tell Nowa what you want, and it will help you connect your app screen to the API in minutes.
Step 1: Set Up Your OpenAI Account
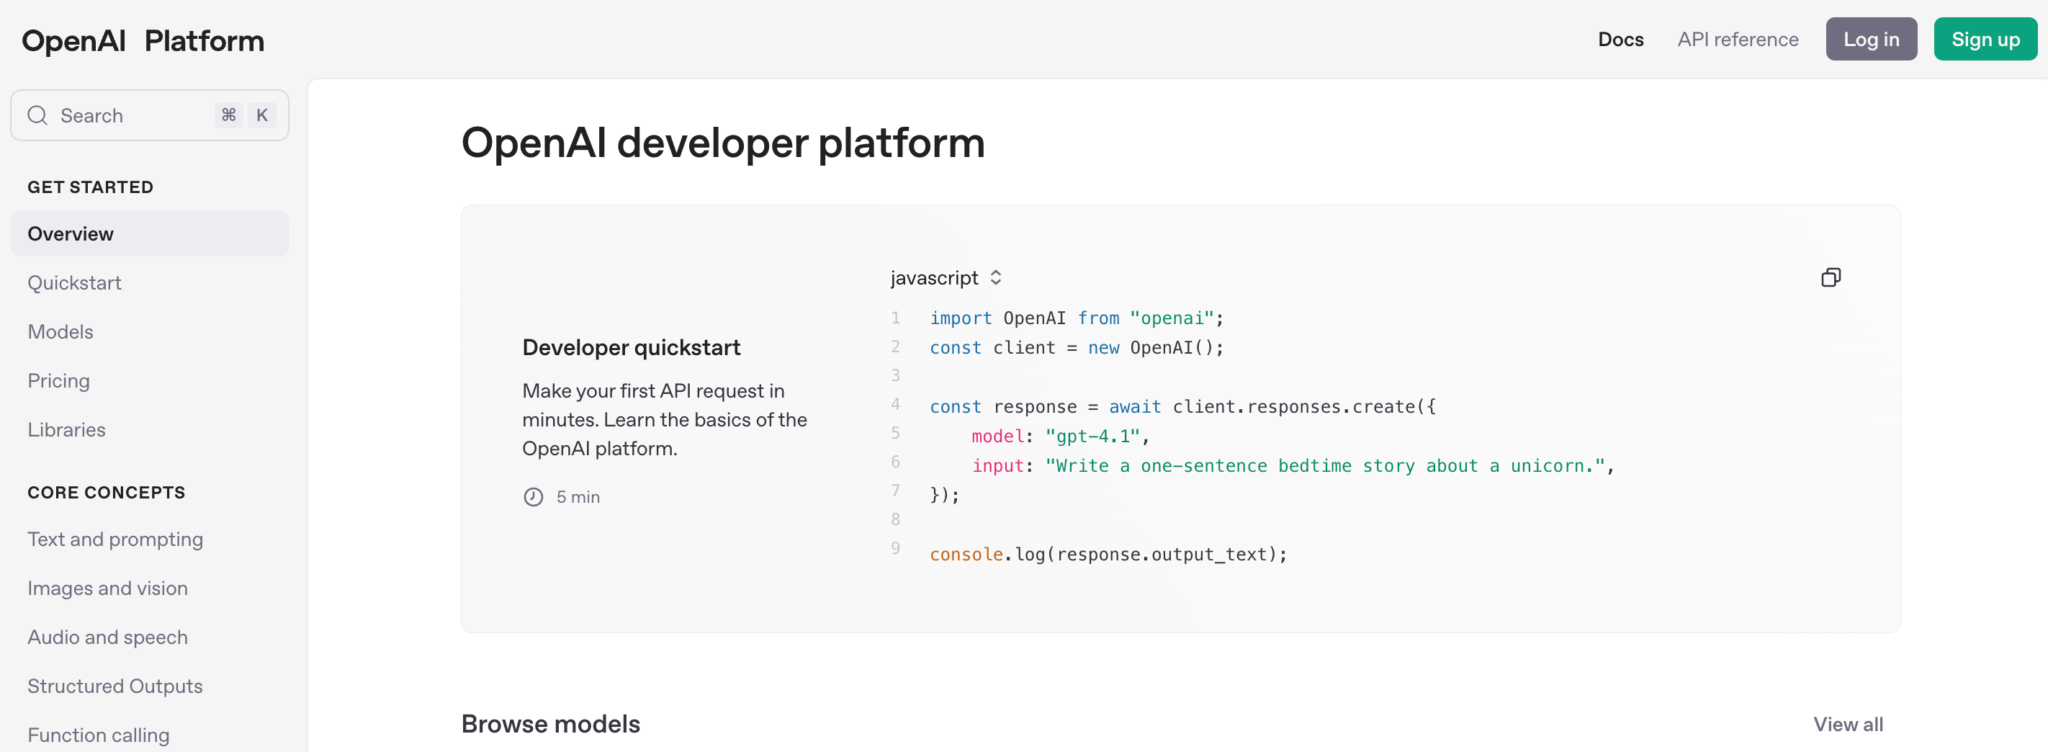
Before connecting ChatGPT to your app, you’ll need an OpenAI account.
👉 Head over to platform.openai.com and sign up (or log in if you already have one).
Once you’re in, you’ll find your personal dashboard where everything starts.
Step 2: Create Your ChatGPT API Key
This is your app’s “access pass” to ChatGPT — it tells OpenAI that your app has permission to use the AI.
Here’s how to generate one:
- Go to the Dashboard.
- Click on API keys in the left sidebar.
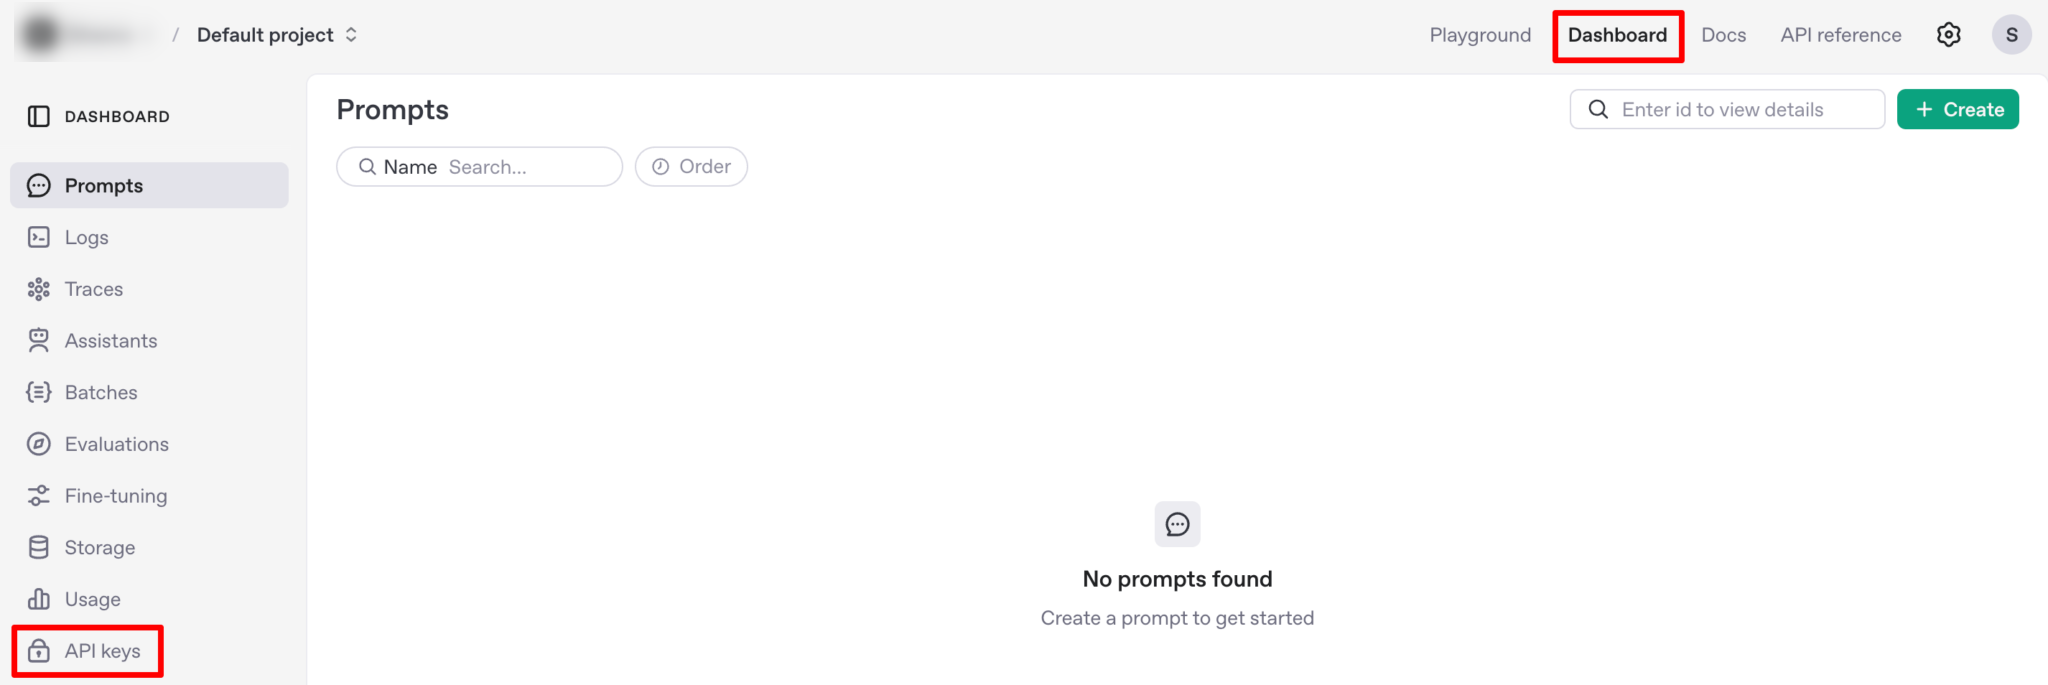
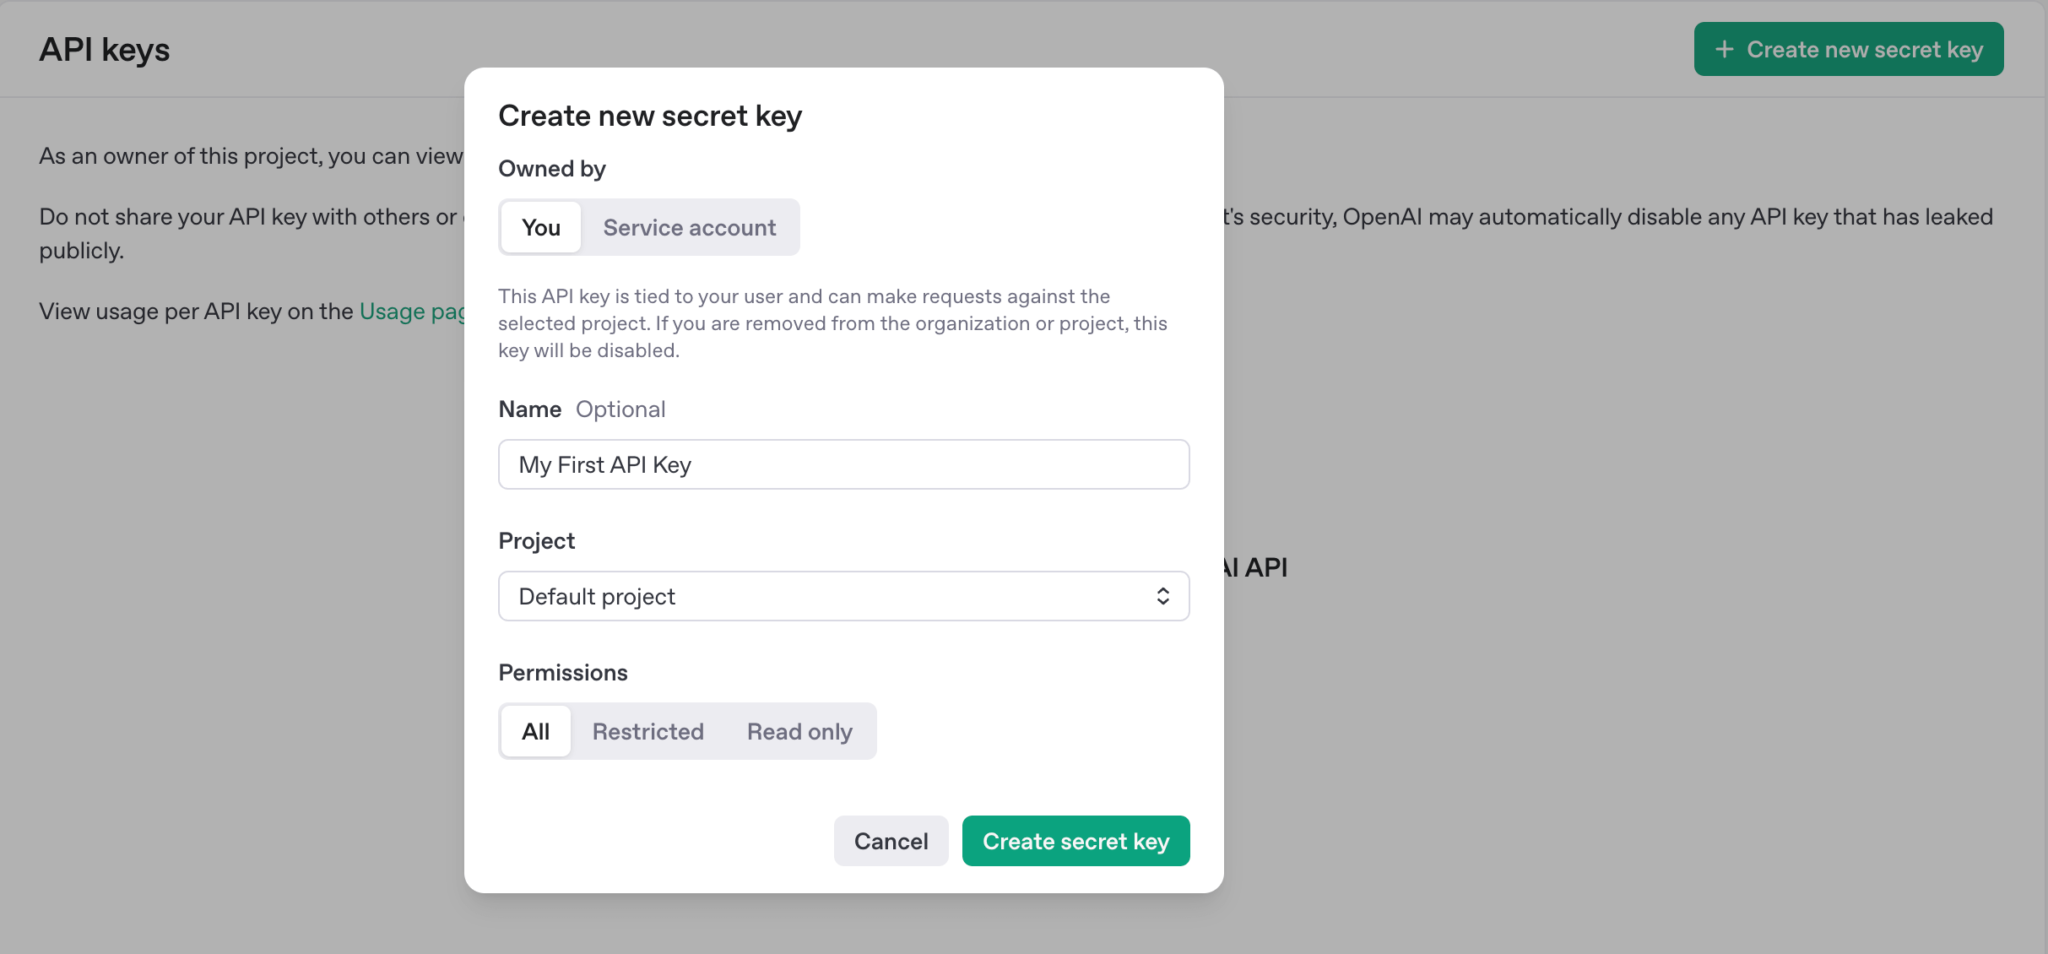
- Hit the + Create new secret key button.
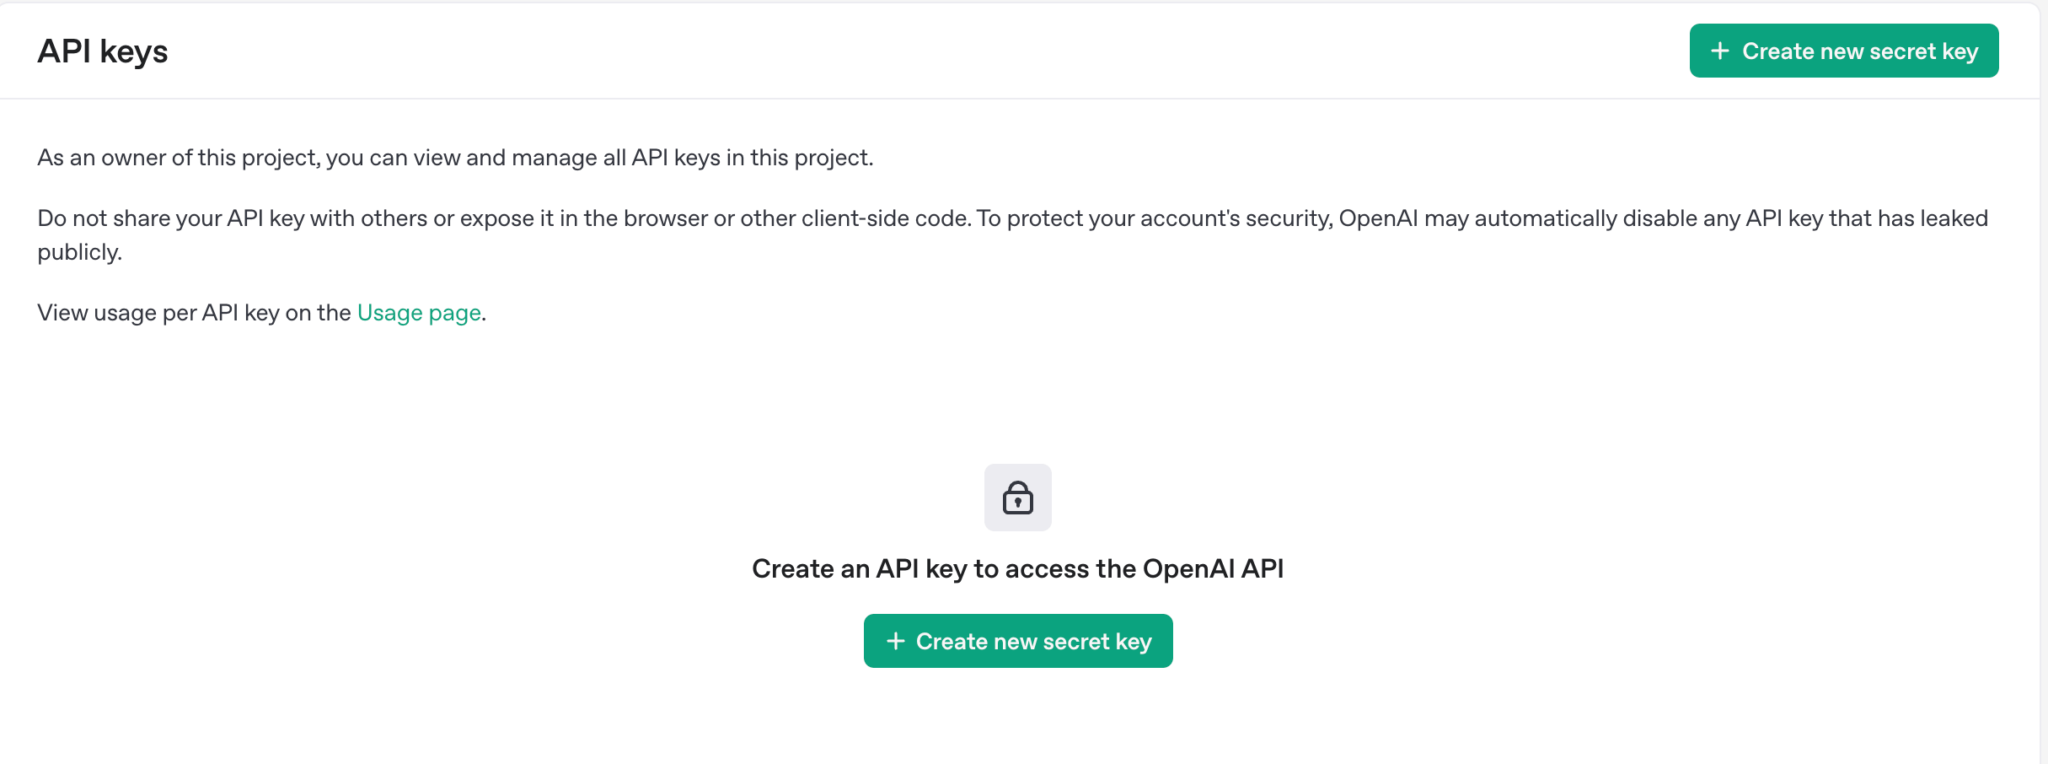
You’ll be asked to name your key — something simple like “My Nowa ChatGPT Key” works great.
If the button doesn’t work, you probably need to verify your phone number first.
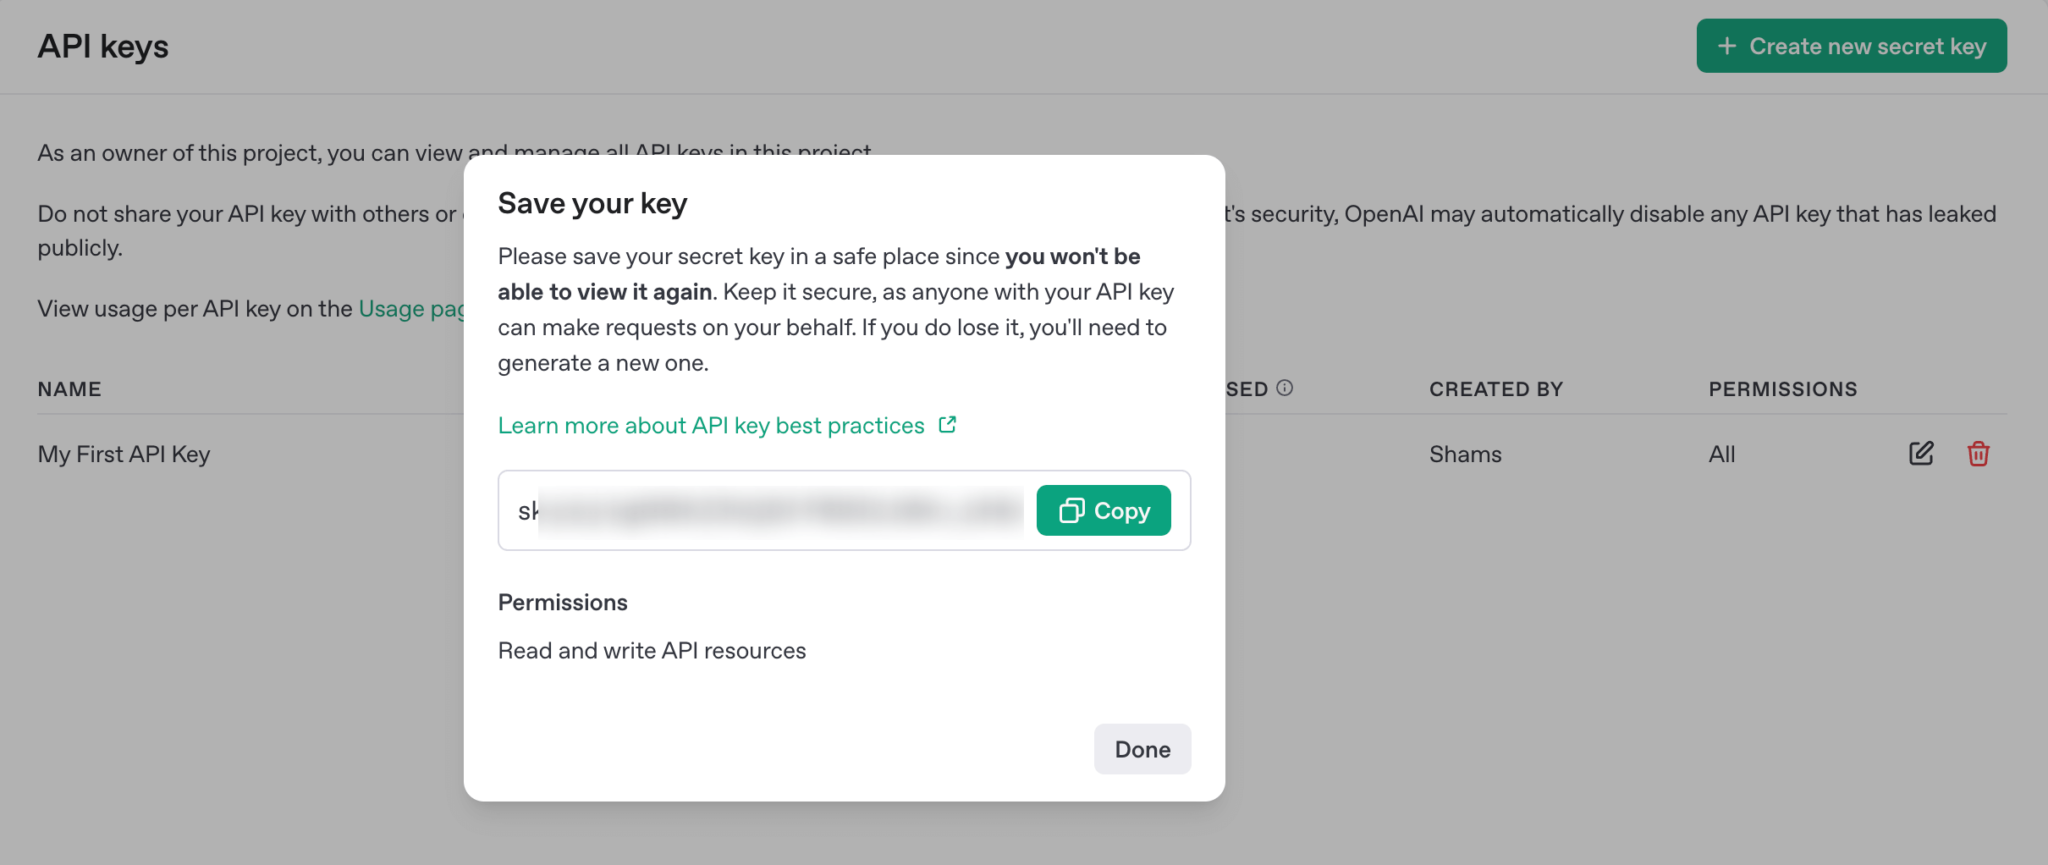
Once created, copy your key and store it somewhere safe (like a password manager). Never share it publicly — it’s like your app’s personal login.
Step 3: Add Billing to Activate Your Key
Your API key won’t work until you’ve added a payment method.
Don’t worry — OpenAI only charges you for what you use. There’s no monthly fee or surprise charges.
To set it up:
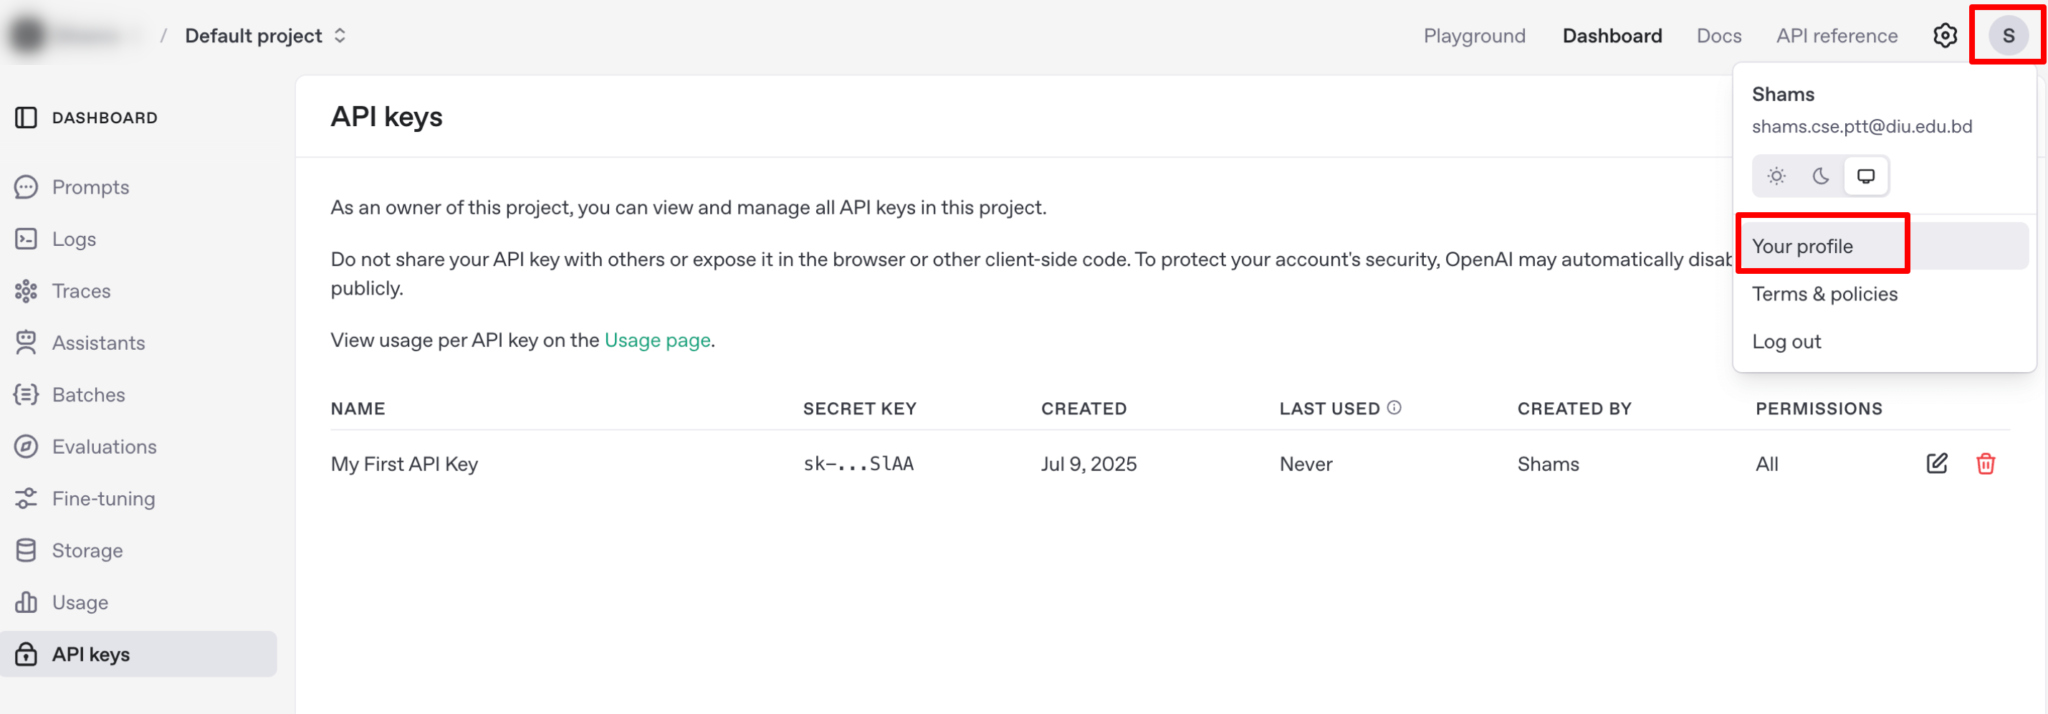
- Click on your profile icon.
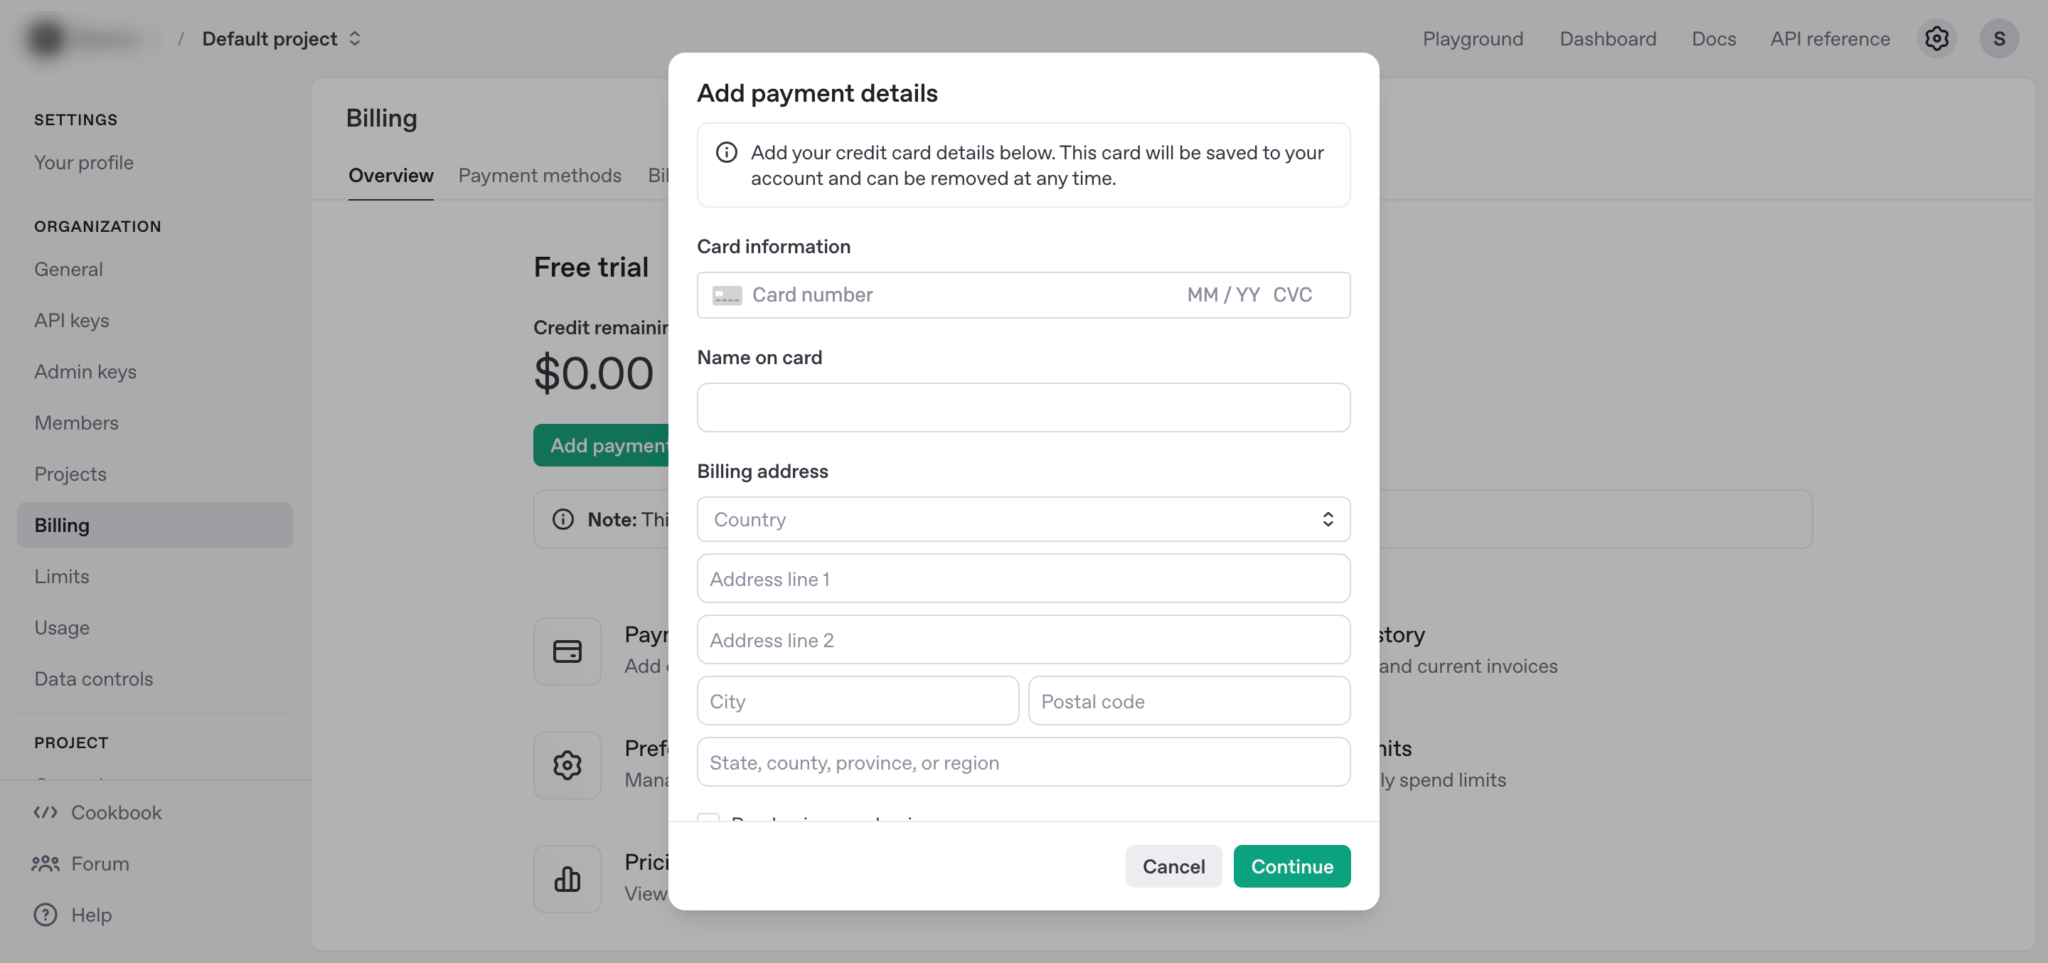
- Go to Your profile → Billing.
- Add your credit or debit card details.
That’s it! Your API key is now live and ready to power your app.
Step 4: Understand How the ChatGPT API Works
Every time your app talks to ChatGPT, it sends a message (Post Request) in a simple format called JSON (a structure that apps use to talk to each other).
Along with this message, it also includes something called headers — these are small pieces of information sent before the main content that tell the server how to handle the request.
API Endpoint:
https://api.openai.com/v1/chat/completions
Header
Authorization: Bearer $Your-key
Here’s what it looks like:
{
  "model": "gpt-5",
  "messages": [
    {"role": "user", "content": "Hello!"}
  ]
}
And here’s what ChatGPT sends back:
{
  "choices": [{
    "message": {
      "role": "assistant",
      "content": "Hello there, how may I assist you today?"
    }
  }]
}
Pretty simple, right?
You send a message → ChatGPT responds → Your app displays the answer.
If you don't know how to use APIs in Nowa, click here
Step 5: Let Nowa Do the Heavy Lifting
Nowa comes with prebuilt screens that take care of all the tricky setup for you.
All you have to do is ask Nowa AI to connect your ChatGPT API to your screen — and it’ll handle the rest automatically.
If you don't know how to use Nowa AI, click here
No coding. No setup headaches. Just results.
Your App, Now Powered by AI
And that’s it — you’ve just connected ChatGPT to your Nowa app!
From here, you can start creating intelligent chatbots, support tools, writing assistants, and more — all powered by the same technology behind ChatGPT.
So go ahead, experiment and explore. The more you play with it, the more ideas you’ll discover.
Final Thoughts
The best part about using Nowa is that you don’t need to be a developer to build something truly powerful.
With AI + Nowa, you’re no longer limited by your coding skills — just your imagination.
So fire up Nowa, grab your ChatGPT key, and start building the next big thing — one conversation at a time. 🚀